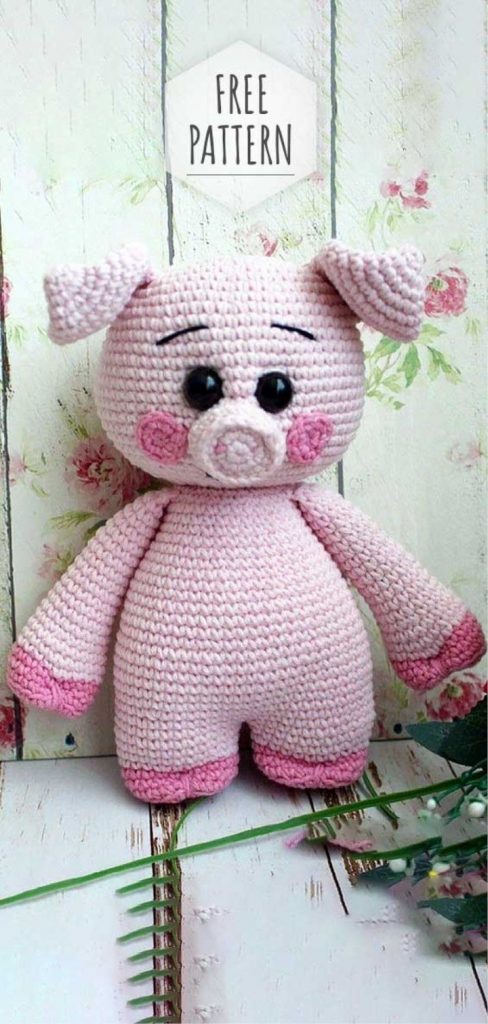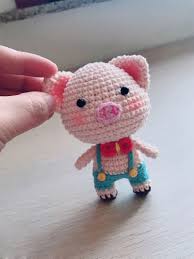
A free pattern by Graciebobbins
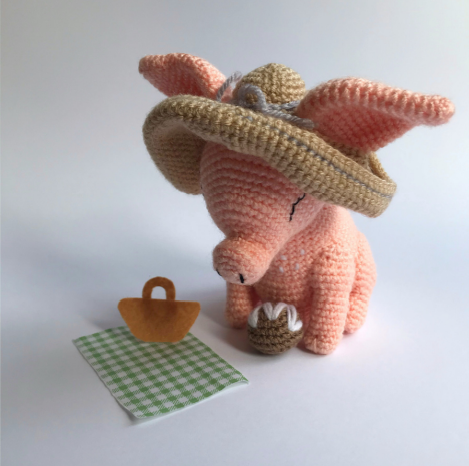
Penelope was created as my entry to the Amigurumi Showcase that was hosted on
Instagram – because she wasso well loved, I’ve shared her as a free pattern for you to
enjoy.
BASIC INFO:
This pattern issuitable for beginners.
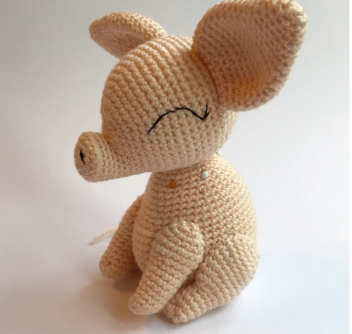
Yourfinished Piglet will measure 6 inches
tall when made with the recommended
yarn and hook size.
This amigurumi is worked in continuous
rounds unless otherwise stated.
ABBREVIATIONS:
This pattern is written in US terminology
SC – Single crochet
CH – chain
Inc – increase
Dec – (invisible) decrease
Rnd -round
BLO – back loop only
- -section to repeat
() – number ofstitchesin round
ABBREVIATIONS:
This pattern is written in US terminology
SC – Single crochet
CH – chain
Inc – increase
Dec – (invisible) decrease
Rnd -round
BLO – back loop only
- -section to repeat
() – number ofstitchesin round
BODY:
- 6sc in magic ring (6)
- Inc x 6 (12)
- 1sc, inc x 6 (18)
- 2sc, inc x 6 (24)
- 3sc, inc x 6 (30)
- 4sc, inc x 6 (36)
- 5sc, inc x 6 (42)
- 6sc, inc x 6 (48)
9 – 18. Sc around – 10 rnds(48) - 18sc, dec x 6, 18sc (42)
20 – 21. Sc around – 2 rnds(42) - 5sc, dec x 6 (36)
- Sc around (36)
- 4sc, dec x 6 (30)
25, Sc around (30) - 3sc, dec x 6 (24)
- Sc around (24)
- 2sc, dec x 6 (18)
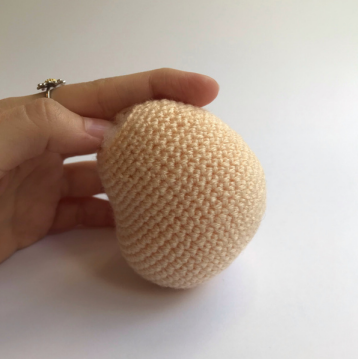
When stuffing, make sure to stuff firmly
below rnd 19. This will create a ‘pot-belly’
effect
BACK LEGS: Make two
- 6sc in magic ring (6)
- Inc x 6 (12)
- 1sc, inc x 6 (18)
- 2sc, inc x 6 (24)
5 – 9. Sc around – 5 rnds(24) - 2sc, dec x 6 (18)
- Sc around (18)
- 6sc, dec x 6 (12)
When stuffing the leg,stuff the hind lightly.
Stuff firmly from rnd 13 – 18.
13 – 17. Sc around – 5 rnds(12) - Dec x 6 (6)
Tie off and weave end through front loops
ofremaining stitches and pull closed. Leave
a long tail (this will be used later).
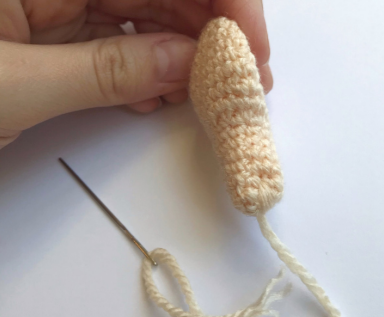
FRONT LEGS: Make two - 6sc in magic ring (6)
- Inc x 6 (12)
3 – 10. Sc around – 8 rnds(12) - 1sc, inc x 6 (18)
12 – 13. Sc around- 2 rnds(18) - 1sc, dec x 6 (12)
- Sc around (12)
Start to stuff the lower part of the leg firmly
and the top half very lightly. - Dec x 6 (6)
Tie off and weave end through front loops
ofremaining stitches and pull closed. Leave
long tail forsewing.
HEAD:
- 6sc in magic ring (6)
- Inc x 6 (12)
- 3sc, inc x 3 (15)
- 6sc, inc x 3, 6sc (18)
- BLO Sc around (18)
- 7sc, dec x 2, 7sc (16)
- Sc around (16)
Stuff as you go. - 7sc, inc x 2, 7sc (18)
- 6sc, inc x 6, 6sc (24)
- Sc around (24)
- 9sc, inc x 6, 9sc (30)
- Sc around (30)
- 4sc, inc x 6 (36)
- Sc around (36)
- 5sc, inc x 6 (42)
- Sc around (42)
- 6sc, inc x 6 (48)
18 – 25. Sc around – 8 rnds(48) - 6sc, dec x 6 (42)
- Sc around (42)
- 5sc, dec x 6 (36)
- 4sc, dec x 6 (30)
- 3sc, dec x 6 (24)
- 2sc, dec x 6 (18)
- 1sc, dec x 6 (12)
- Dec x 6 (6)
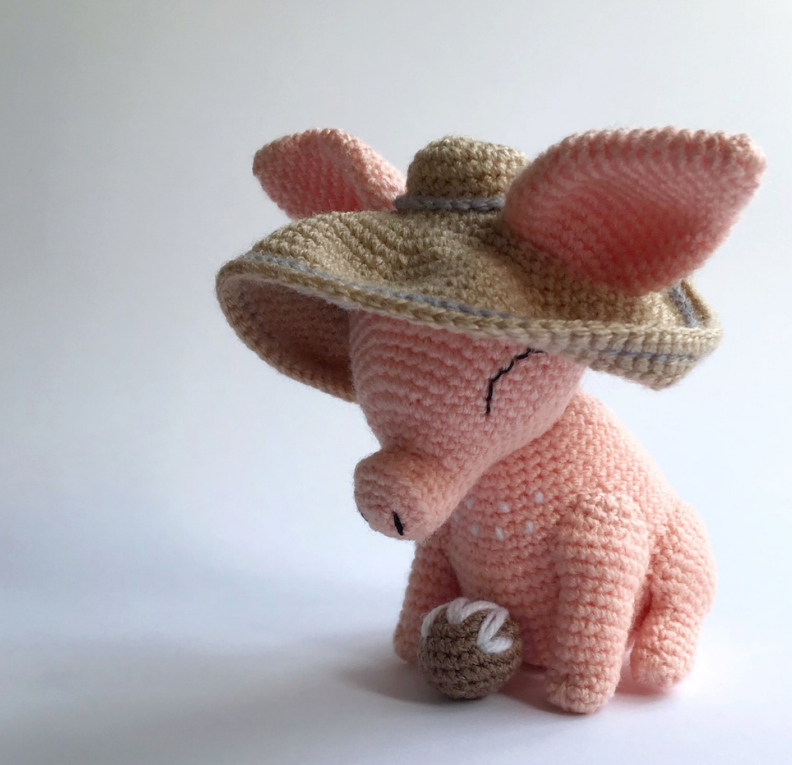
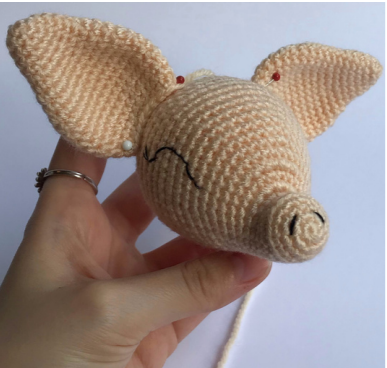
Stuff the head firmly and push the
nose back and upwardstowardsthe head to
create a turned up snout.
Embroider eyes between rnd 14 and rnd 20
and add nostrils atrnd 2-3
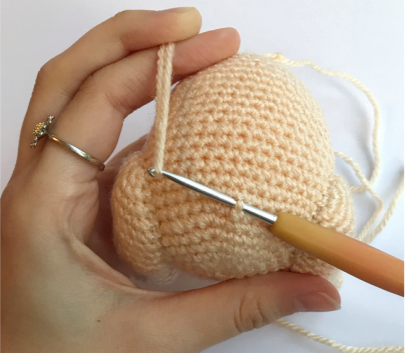
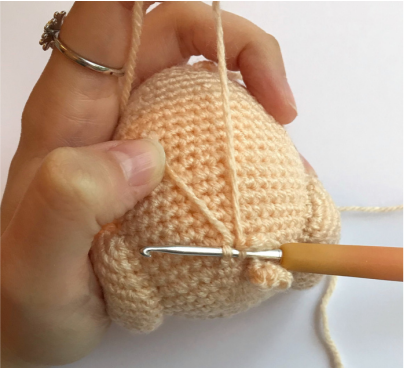
Tie off and weave end through front loops
ofremaining stitches and pull closed.
Weave in ends.
EARS: Make two
- 6sc in magic ring (6)
- 1sc, inc x 3 (9)
- 2sc, inc x 3 (12)
- 3sc, inc x 3 (15)
- Sc around (15)
- 6sc, inc x 3, 6sc (18)
- Sc around (18)
- 2sc, inc x6 (24)
- Sc around (24)
- 3sc, inc x 6 (30)
11 – 15. Sc around – 5 rnds(30) - 3sc, dec x 6 (24)
- Sc around (24)
- 2sc, dec x 6 (18)
Leave the ears unstuffed. Tie off and leave a
long tail.
HAT: - 6sc in magic ring (6)
- Inc x 6 (12)
- 1sc, inc x 6 (18)
- 2sc, inc x 6 (24)
5 – 7. Sc around – 3 rnds(24) - 5sc, ch17,skip 1 stitch, 12sc, ch17,skip 1
stitch, 5sc (56)
Sc around (56) - 6sc, inc x 8 (64)
- 7sc, inc x 8 (72)
- 11sc, inc x 6 (78)
- 12sc, inc x 6 (84)
- 13sc, inc x 6 (90)
- 14sc, inc x 6 (96)
- 16 – 20. Sc around – 5 rnds(96)
- With purple yarn (or colour of your choice)
- insert hook atrnds 7 & 19 and surface slip
- stitch all the way around.
- Tie off and weave in ends
ASSEMBLY:
EarsForthe ears, make sure the increasesfrom
rnd 6 are on the outer edge. Sew the bottom
of the earstogether.
Pin and sew earsto rnd 24 – 25 roughly 8
stitches apart
LegsWith pink yarn (or yarn tail) insert tapestry
needle through the bottom of the foot and
back through the top twice and pull tight to
create a flat base resembling a trotter:
Repeat for all 4 legs.
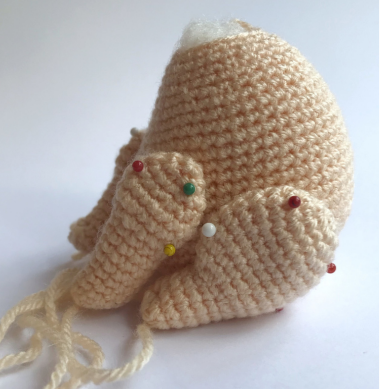
Keeping the hind of the back legsflat, pin
the bottom of the hind leg to rnd 7 –
continue to pin around the rest of the leg.
Back legsshould be roughly 14 stitches
apart.
Keeping the top half of the front legsflat
against the body – pin between rnd 13 and
rnd 19:
Sew the legs and under-legsto the body so
your pig can sit upright. Don’tsew the full
leg to the body.
HeadPin and sew head onto body
Tail –
Insert your hook between the hind legs
between rnd 8-9. Pull up a loop and ch6.
Insert hook into 2nd chain from hook and
3sc inc in each stitch (15).
Insert hook into nextstitch on body, SS and
tie off – weave in any ends
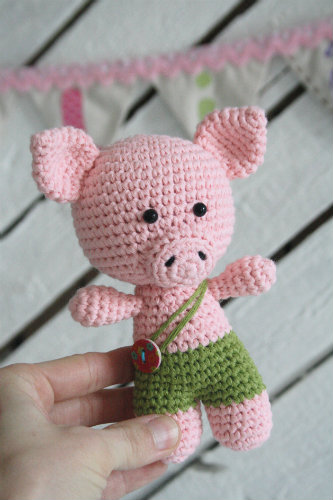
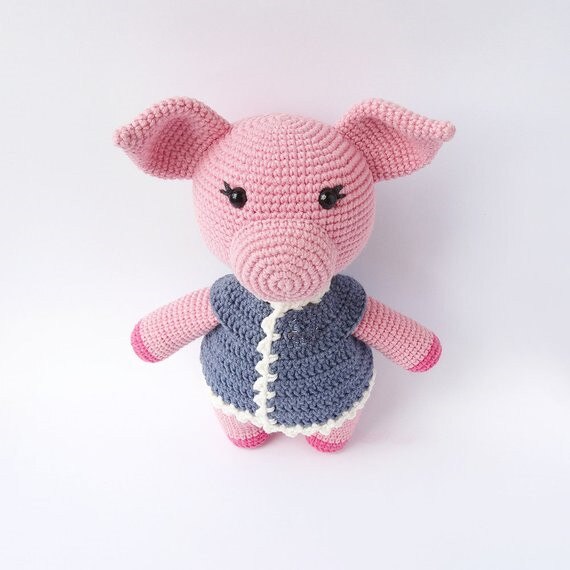
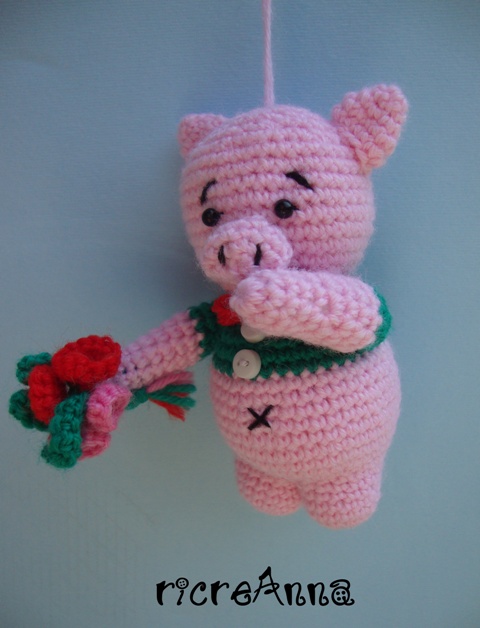
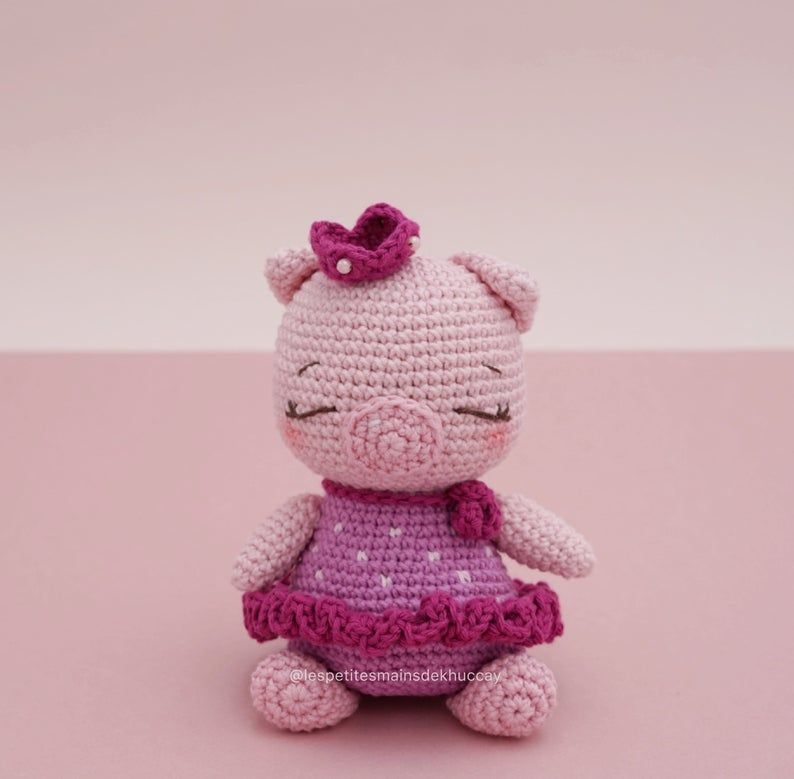
Finishing TouchesNow’s your chance to get creative! Add
embroidery and embellishmentsto your
Piglet to make her unique.
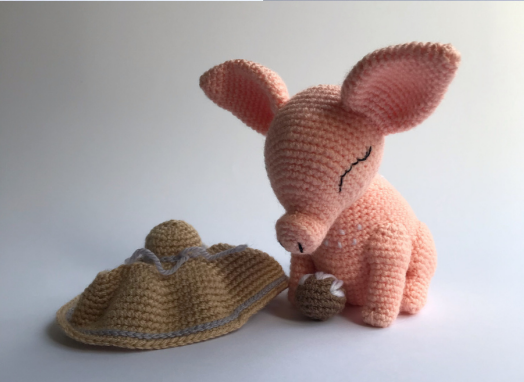
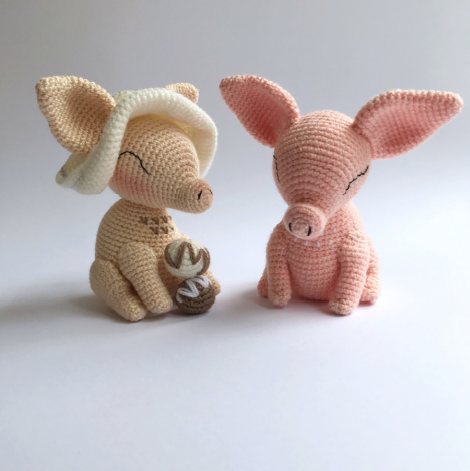
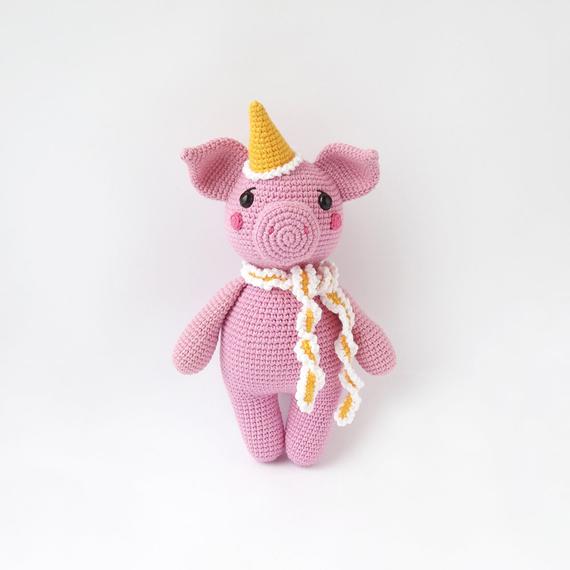
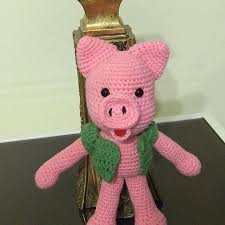
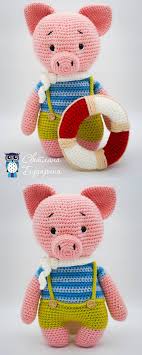
More Images;