MATERIALS & SUPPLIES:
- Yarn for body Yarn Art Jeans (160 m (≈175
yd)/ 50g (1,75 oz), 55% cotton/45% acrylic)
Option 1: color № 07 beige, 1 skein.
Option 2: color № 05 light beige, 1 skein. - Additional yarn: Yarn Art Jeans (160 m (≈175
yd)/ 50g (1,75 oz), 55% cotton/45% acrylic)
Option 1: color №29 green apple, 35 yellow.
Option 2: color №36 pink, 48 sand, 01 white - Hook size 2 mm (metal hook US/UK 1),
knitting needles №2.5 - Piece of fabric 8 cm х 50 сm/3,2 in x 19,7 in
- Two black plastic beads for eyes diameter
4-5 mm/0,15-1,2 in - Black sewing thread, brown and pink
embroidry floss for muzzle design. - Fiber filling
ABBREVIATION:
Ch – chain
Sc – single crochet
Dc – double crochet
Tr – treble crochet
St – stitch
Inc – increase (2 sc or 2 dc in one st)
Dec – invisible decrease (crochet next 2 st together)
BLO – back loops only
[n] Inc/Dec – increase/decrease [n] times in a row
Sl st – slip stitch
R – row/round
() x… – repeat instructions in brackets … times
Number in () at the end of the Row indicates number o
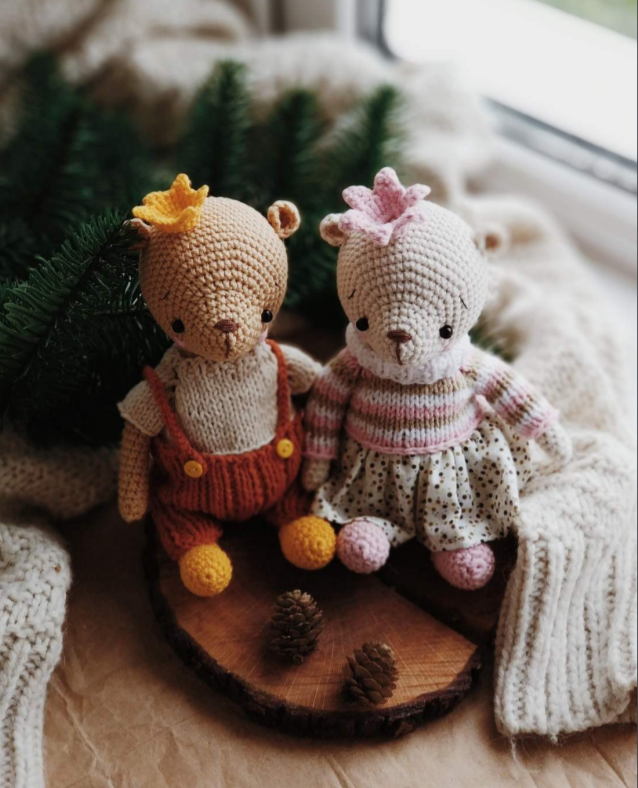
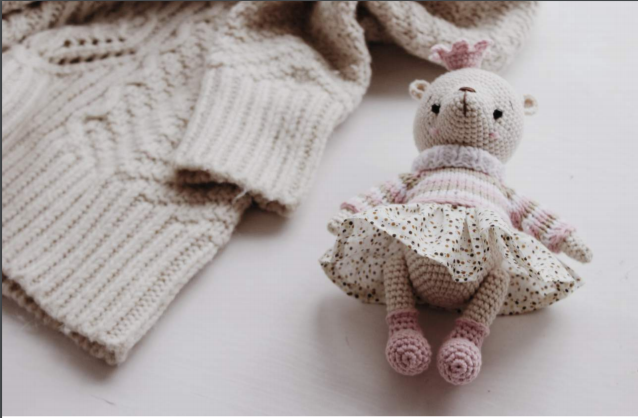
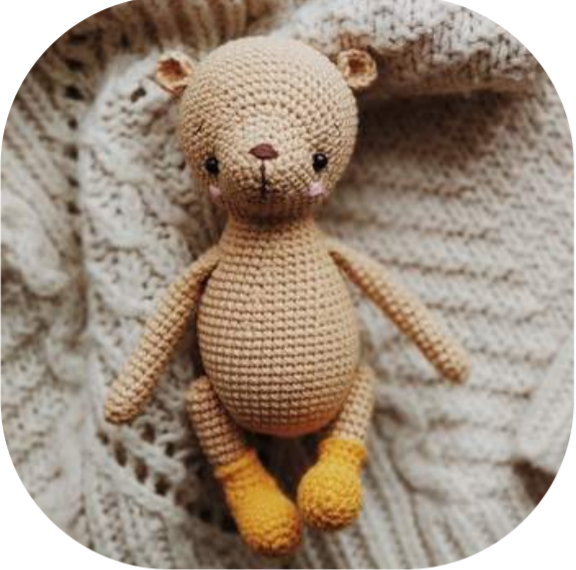
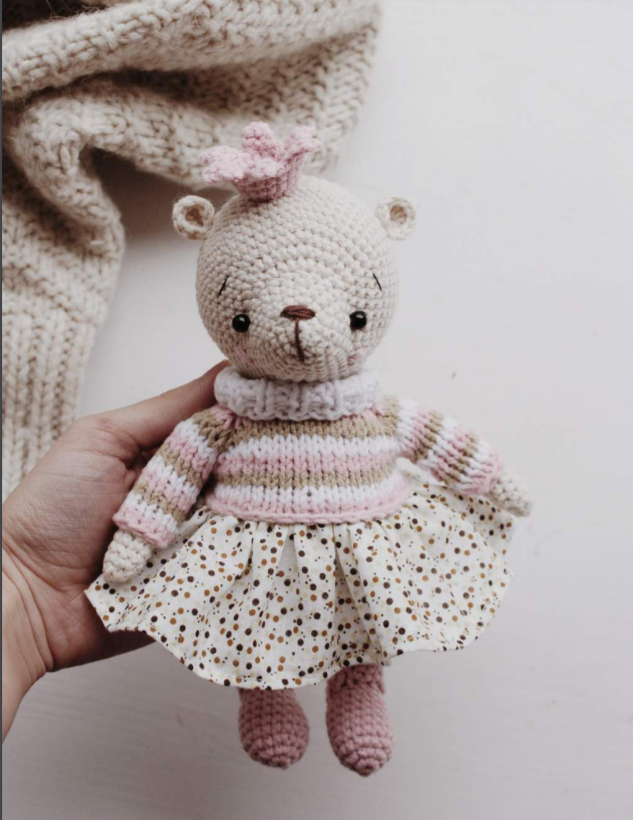
Size of the toy crocheted with recommended yarn is 20 cm/7,9 in
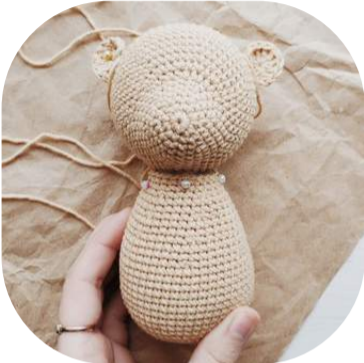
HEAD:
Work with main color yarn.
R1: 6 sc in magic ring
R2: 6 inc (12)
R3: (1 sc, inc) х 6 (18)
R4: 18 sc
R5: (2 sc, inc) х 6 (24)
R6: 24 sc
R7: 9 sc, 6 inc, 9 sc (30)
R8: 9 sc, (1 sc, inc) х 6, 9 sc (36)
R9: (5 sc, inc) х 6 (42)
R10: (6 sc, inc) х 6 (48)
R11: (7 sc, inc) х 6 (54)
R12-21 (10 rounds): 54 sc
R22: (7 sc, dec) х 6 (48)
R23: (6 sc, dec) х 6 (42)
R24: (5 sc, dec) х 6 (36)
R25: (4 sc, dec) х 6 (30)
R26: (3 sc, dec) х 6 (24)
R27: (2 sc, dec) х 6 (18)
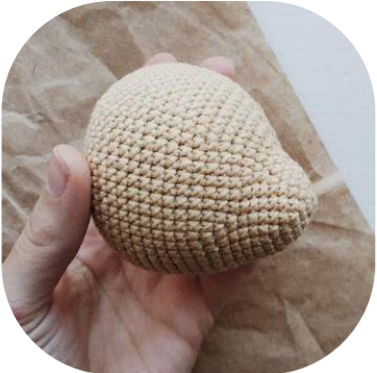
Stuff tight. At this stage pay attention to muzzle while
stuffing. This is the most difficult part as you should
shape it well. It should not bend when pressed, on the
contrary it should be firm. Don’t forget that with the
help of stuffing we make shape of our toy. The more
you try, the more beautiful is the result.
R28: (1 sc, dec) х 6 (12)
Fasten off the loops. Close hole. Hide yarn tail inside
the detail


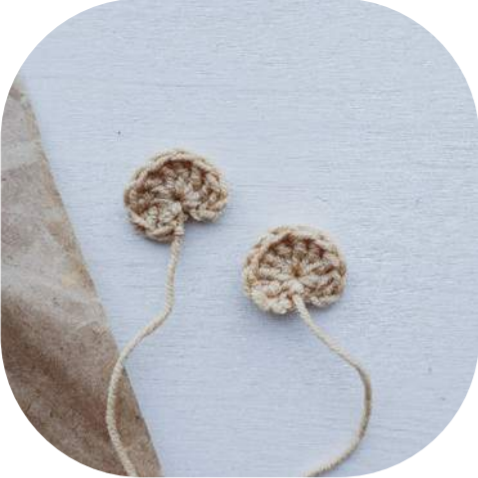
EARS:
Work with main color yarn.
Crochet in magic ring: ch 3, 8 dc, ch 3, sl st,
fasten off the ring.
Crochet 2 details
BODY:
Work with main color yarn.
R1: 6 sc in magic ring
R2: 6 inc (12)
R3: (1sc, inc) х 6 (18)
R4: (2 sc, inc) х 6 (24)
R5: (3 sc, inc) х 6 (30)
R6: (4 sc, inc) х 6 (36)
R7: (5 sc, inc) х 6 (42)
R8: (6 sc, inc) х 6 (48)
R9-18 (10 rounds): 48 sc
R19: (6 sc, dec) х 6 (42)
R20-21: 42 sc
R22: (5 sc, dec) х 6 (36)
R23-24: 36 sc
R25: (4 sc, dec) х 6 (30)
R26-27: 30 sc
R28: (3 sc, dec) х 6 (24)
R29-30: 24 sc
Cut the yarn leaving long tail for assembly. Stuff tight.

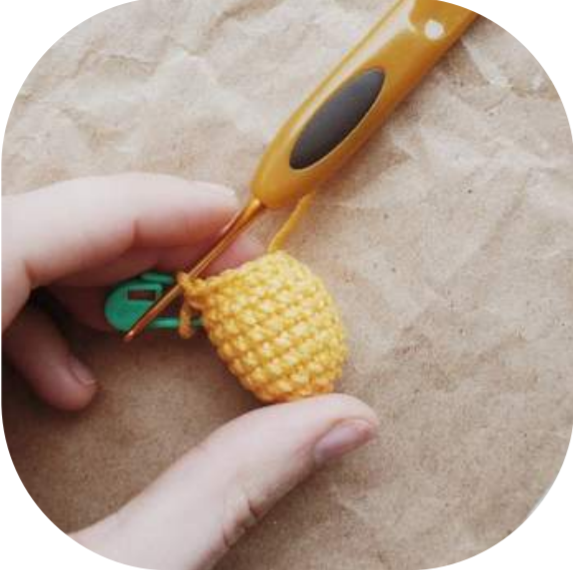
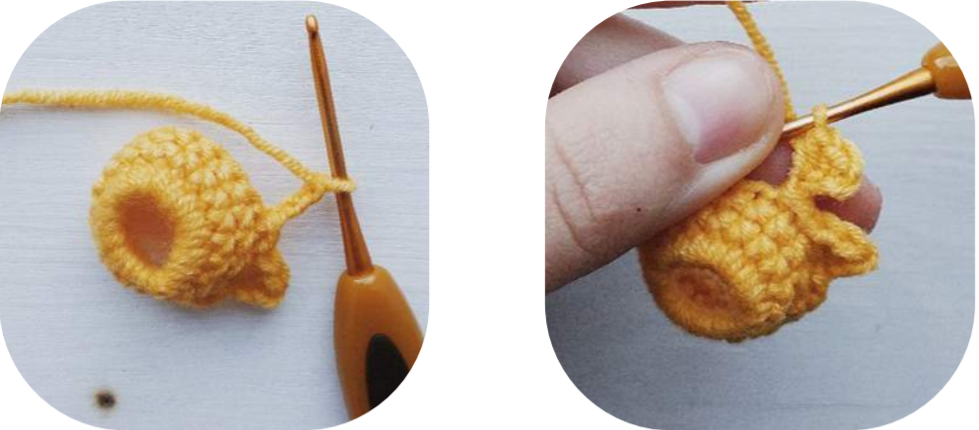
LEGS:
Start to crochet with sock that is why take your
chosen additional color yarn.
R1: 6 sc in magic ring
R2: 6 inc (12)
R3: (1 sc, inc) х 6 (18)
R4-8 (5 rounds): 18 sc
R9: (1 sc, dec) х 6 (12)
Start to crochet heel. Work in turns:
- 3 sc, sl st in 4th st, ch 1, turn
- 4 sc, sl st in 5th st, ch 1, turn
- 5 sc, sl st in 6th st, ch 1, turn
- 6 sc, sl st in 7th st, ch 1, turn
- 7 sc, sl st in 8th st, ch 1, turn
- 8 sc, sl st in 9th st, ch 1, turn
Continue to work on front (“right”) side around:
R10-12: 12 sc
Change yarn to main color.
R13: BLO 12 sc
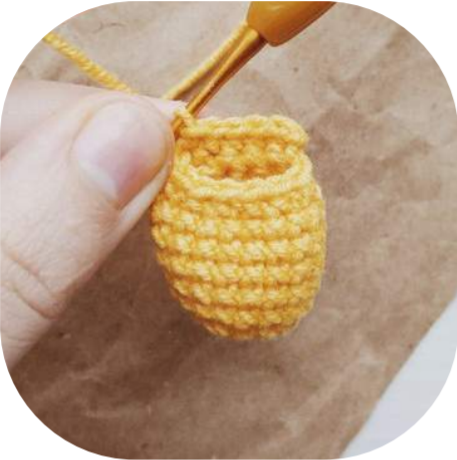

R14-22 (9 rounds): 12 sc
Stuff to the top.
Fasten off the loops, close the hole.
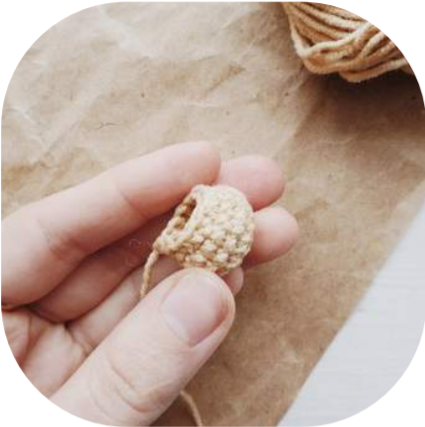
R13, which we crocheted BLO, crochet around with sc using remaining front loops.
ARMS:
Work with main color yarn.
Make 2 details.
Stuff with fiber to R15 only.
R1: 6 sc in magic ring
R2: (1 sc, inc) х 3 (9)
R3-20 (18 rounds): 9 sc
Fold edges together and sc them.
Cut the yarn leaving a long tail for assembly.
TAIL:
Work with main color yarn.
Stuff at assembly stage.
R1: 6 sc in magic ring
R2: 6 inc (12)
R3: (1 sc, inc) х 6 (18)
R4-6: 18 sc
R7: (1 sc, dec) х 6 (12)
Cut the yarn leaving a long tail for assembly


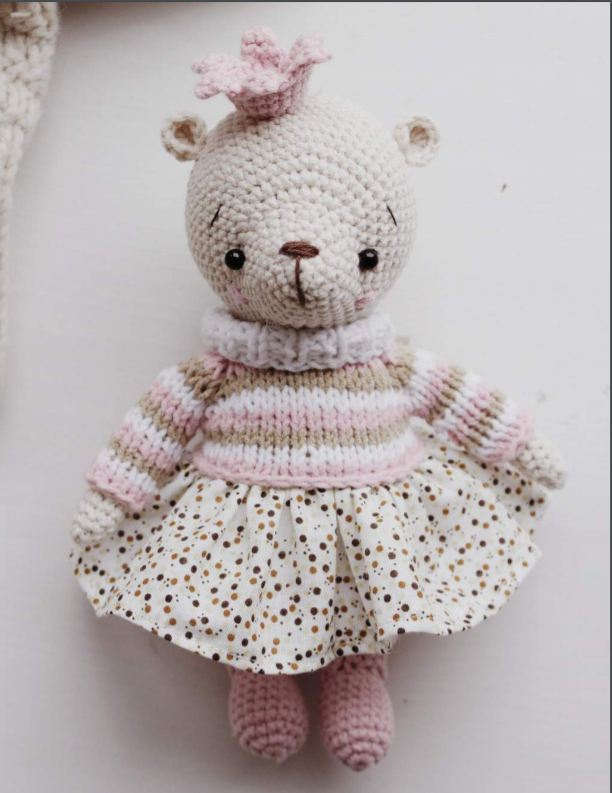
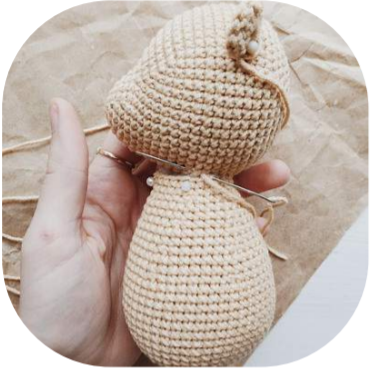
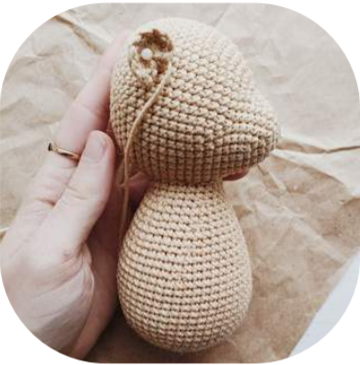
ASSEMBLY & MUZZLE DESIGN
First sew head to the body previously securing it with pins. When there is a small hole left, stuff
the area between head and body with fiber tight, so our head don’t hang out
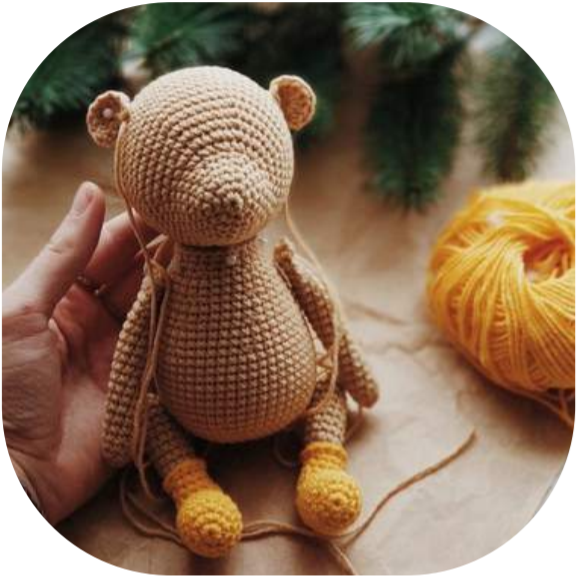
On the sides of the head at
an equal distance, sew the
ears, previously securing
them with pins.
Start to finish muzzle.
Sew eyes between R8-9 of
the head. Embroider nose
with brown embroidery
floss: make 3-4 stitches
horizoontally and one stitch
vertically in the center.
Embroider cheeks with pink
embroidery floss by making
3-4 stitches.
Sew arms on the sides of the body.
Sew legs using button or thread joint


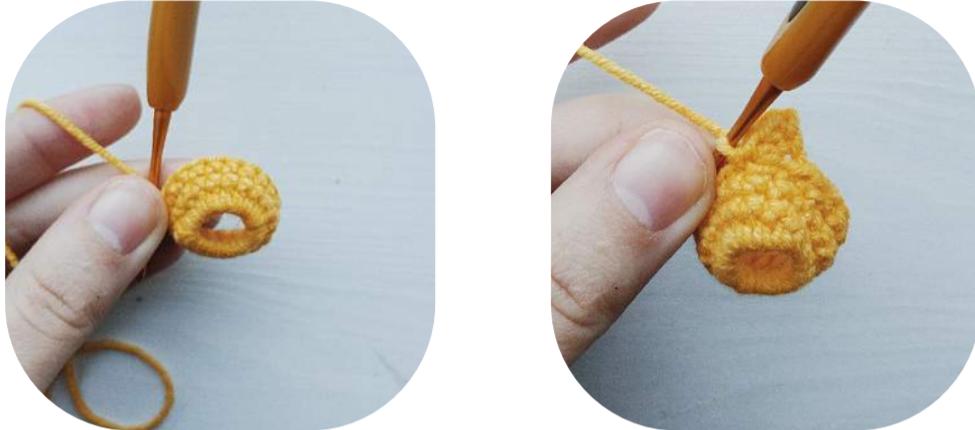
CROWN:
Crochet crown base
R1: crochet in magic ring:
ch 1, 18 sc, fasten off a little bit and make slip
stitch in ch 1.
R2-3: ch 1, 18 sc, sl st in the end
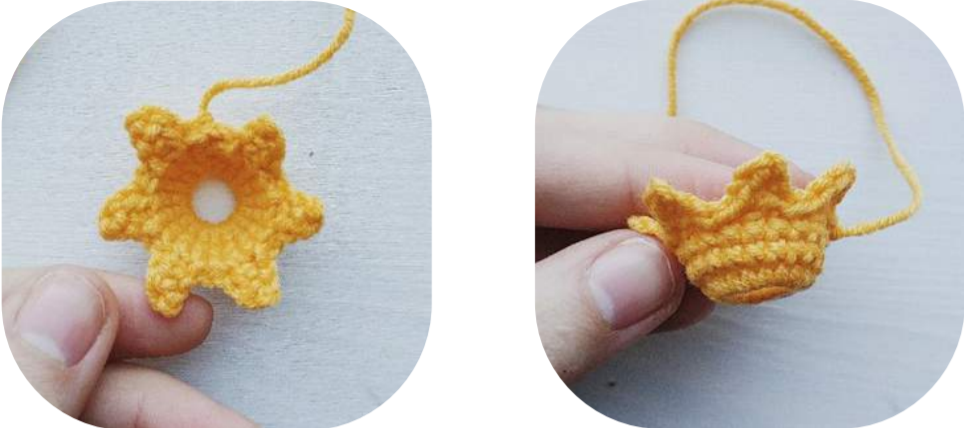
Continue to crochet crown top (peaks).
Crochet sl st into the next st from the hook, ch 3.
Than crochet on the chain: sc into the 2nd ch
from the hook, hdc into the next st.
Skip one chain on the crown base and make sl st
into the next st. Than make sl st again and
crochet second peak
We should have 6 peaks totally
1 peak takes 3 st of the base (18 base st / 3 = 6)
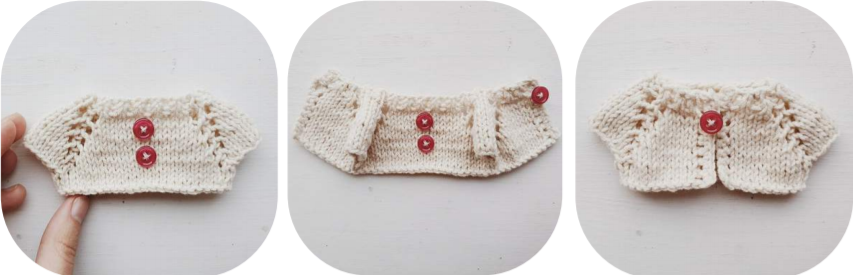
CARDIGAN (t op o f t h e dr e s s ):
Top of the dress will be knitted. I knit it with stockinette stitch using double pointed needles. In
order to calculate necessary quantity of stitches to start knitting cardigan, we need to knit a
sample out of 10 stitches and about 5-6 rows. Measure sample stretching it a bit. I’ve got 4
cm/1,57 in. Further measure neck girth (at the place where we’ll start to knit raglan) of your bear.
I’ve got 12 cm/4,72 in. In order to find out quantity of stitches to be casted on: 12 cm/4,72 in
multiply by 10 and devide by 4/1,57. I’ve got 30 stitches.
Cast on 30 st and knit 2 rows Rib 1:1 (knit 1, purl 1). If you want neck of the top be higher like for
bear girl, knit Rib for about 6 rows. Further we need to devide stitches for raglan.
I devided stitches following way:
- from total quntity subtract 4 raglan stitches (30–4=26);
- substract 3 st for each sleeve (26-6=20);
- 20 st distribute for front and back of the cardigan, 10 st for each;
- as our cardigan has open back, devide it into 2 parts: 10/2=5.
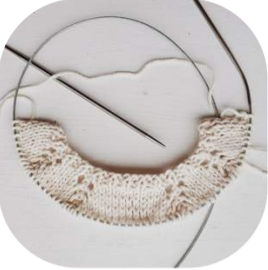
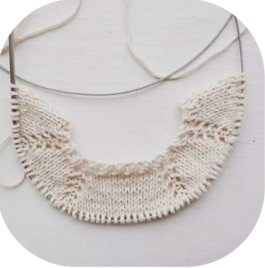
Start to knit on the right side following next pattern: before
and after each raglan st make yarn over. When you knit on the
wrong side, purl all knit st of previous row. Alternate right and
wrong rows till you knit to desired size (under the arms)
R1: K5, P1 (raglan st), K3, P1 (raglan st), K10, P1 (raglan st), K3,
P1 (raglan st), K5
R2: Purl all knit st of previous row, 4 purl (raglan) st – Knit
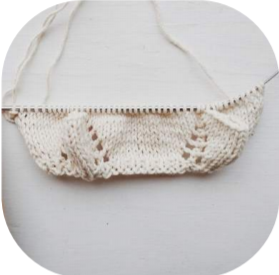
Then if you want short sleeves, bend sleeve st off, knit about 2
more rows for front and back.
If you want long sleeves, then knit them to desired length, bind
their stitches off and only then knit front and back of the top of
the dress

After we knitted top of the dress or cardigan for bear boy, crochet edges around. Make a loop out
of chains for button from one side.
When top of the dress is ready we can sew skirt now.
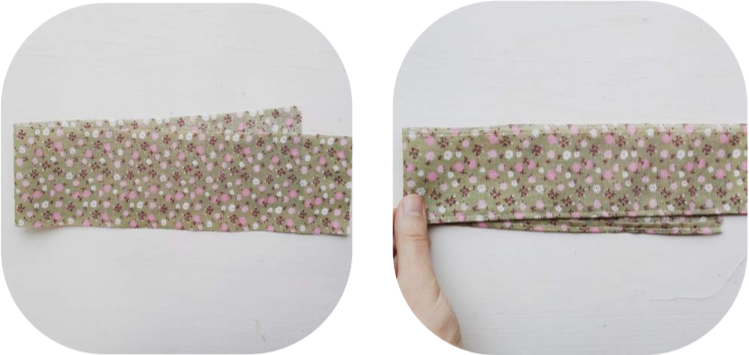
Take a piece of fabric. Handle the edge on sewing machine or by hands. Iron well.
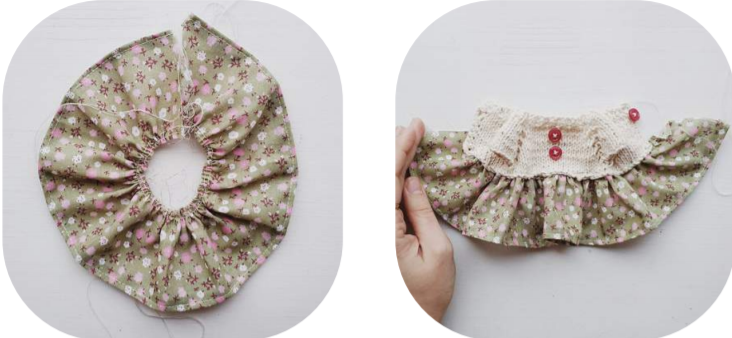
On top of the fabric make wide stitches. Pull off the fabric into skirt using this thread to the length
of top of the dress.
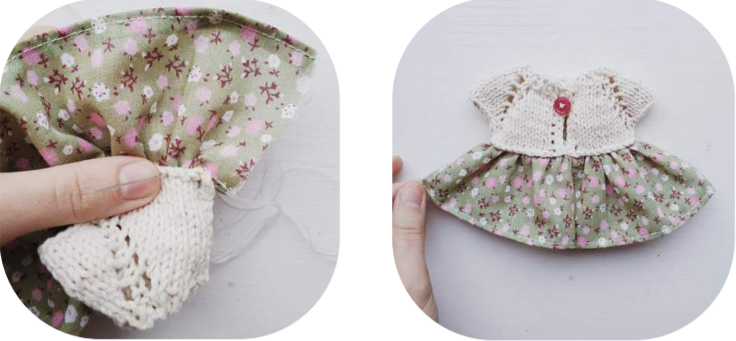
Secure finished skirt with pins to knitted top of the dress and neatly sew it with appropriate
thread color. Then fold two ends of the skirt and sew them together